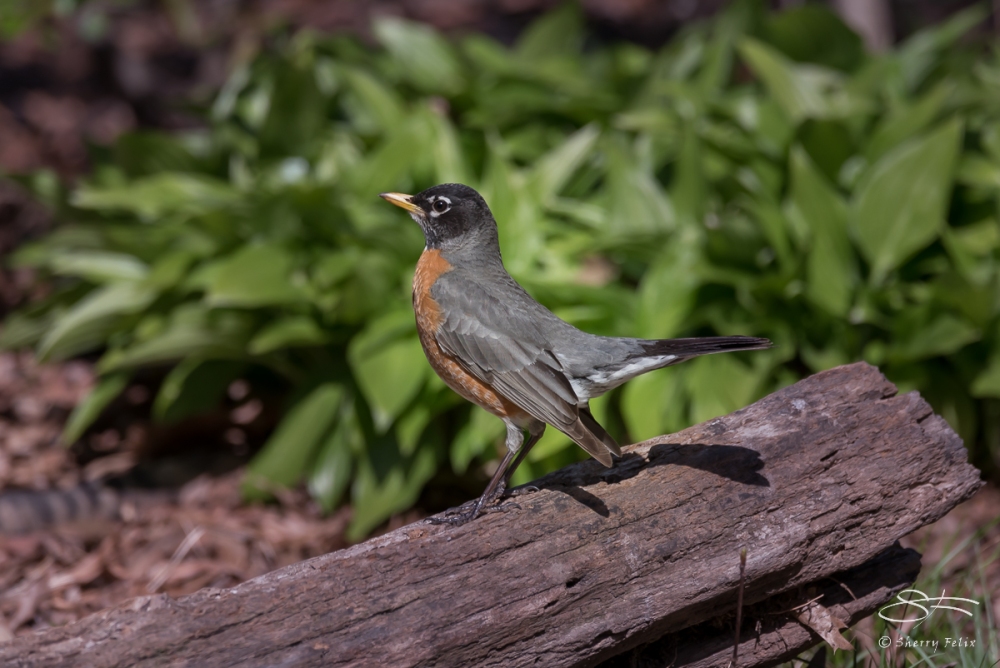
Steps I used to create the after version in Photoshop:
- Black and White adjustment layer chose Infrared
- Warm photo filter 5%
- Hue/saturation adjustment layer Saturation +33
- Duplicate robin and mask the bird
- Red photo filter 25%
- Copy and flatten the layers for use in on!
- In on1 Effects (PS add-on) chose “Cans on Shelf” and save back to PS
- Underwater Photo filter 56% applied to the on1 layer.


Posted on the After Before Friday Forum week 83 on April 22, 2016.

masyaAllah, all praise to Allahthank for your article mam 😉
LikeLiked by 1 person
Excellent transformation. I like the warmer color tone. Makes all the difference. And it still looks like “untouched”.
LikeLike
Thank you. I like the end result to look natural. Often changing the background a little helps frame the bird.
LikeLiked by 1 person
Lovely colours. Thanks for taking us through the process, Sherry. 🙂
LikeLike
You’re most welcome.
LikeLike
Nicely done!
LikeLike
Thank you 🙂
LikeLike
Again! Thanks for showing us this, it makes a bunch more sense. I’m still a cheapie, so I’m going to see (one of these days…) if I can do this in free GIMP.
I love the transformation!
LikeLike
You may be able to replicate what I did in GIMP, but for access to millions of tutorials, tips and plug-ins it is best to join the rest of us and use the industry standard. $10 a month is not that much to pay for Lightroom and Photoshop plus you get unlimited free tech support and updates.
LikeLiked by 1 person
Very interesting. Thanks for the walk through. The result is great.
LikeLike
Your welcome and thanks. I love all your helpful tips.
LikeLike